rok restaurant
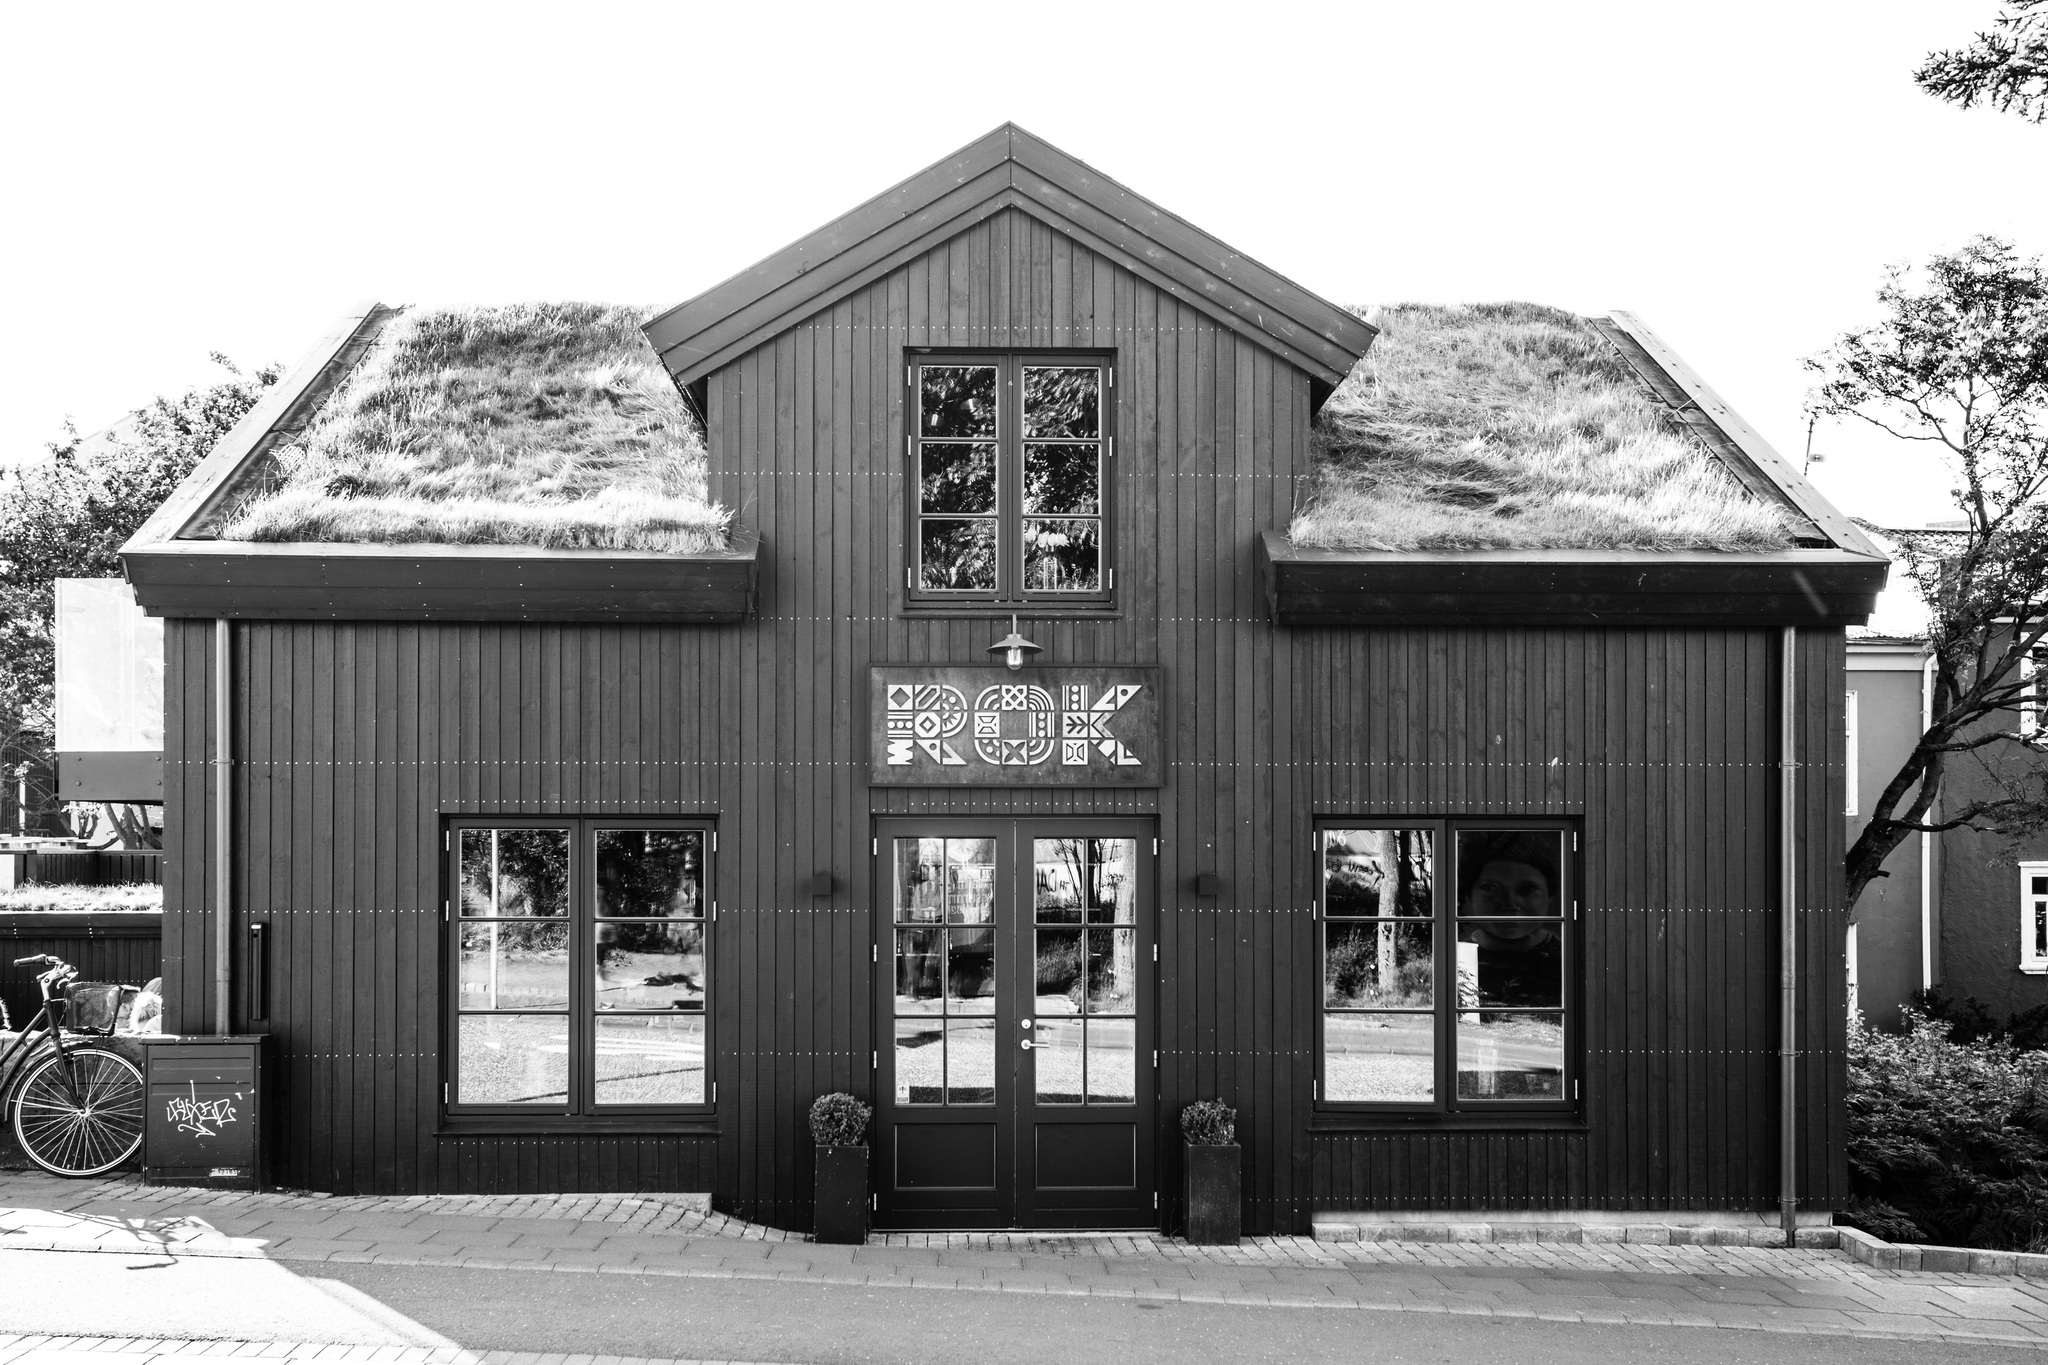
Description for the visually challenged
A black wooden building with a steeply pitched roof covered in grass. The front features large windows and a door, with decorative elements above the door. In the foreground, there is a bicycle and a trash bin. The background includes trees and other buildings.
harbour hut
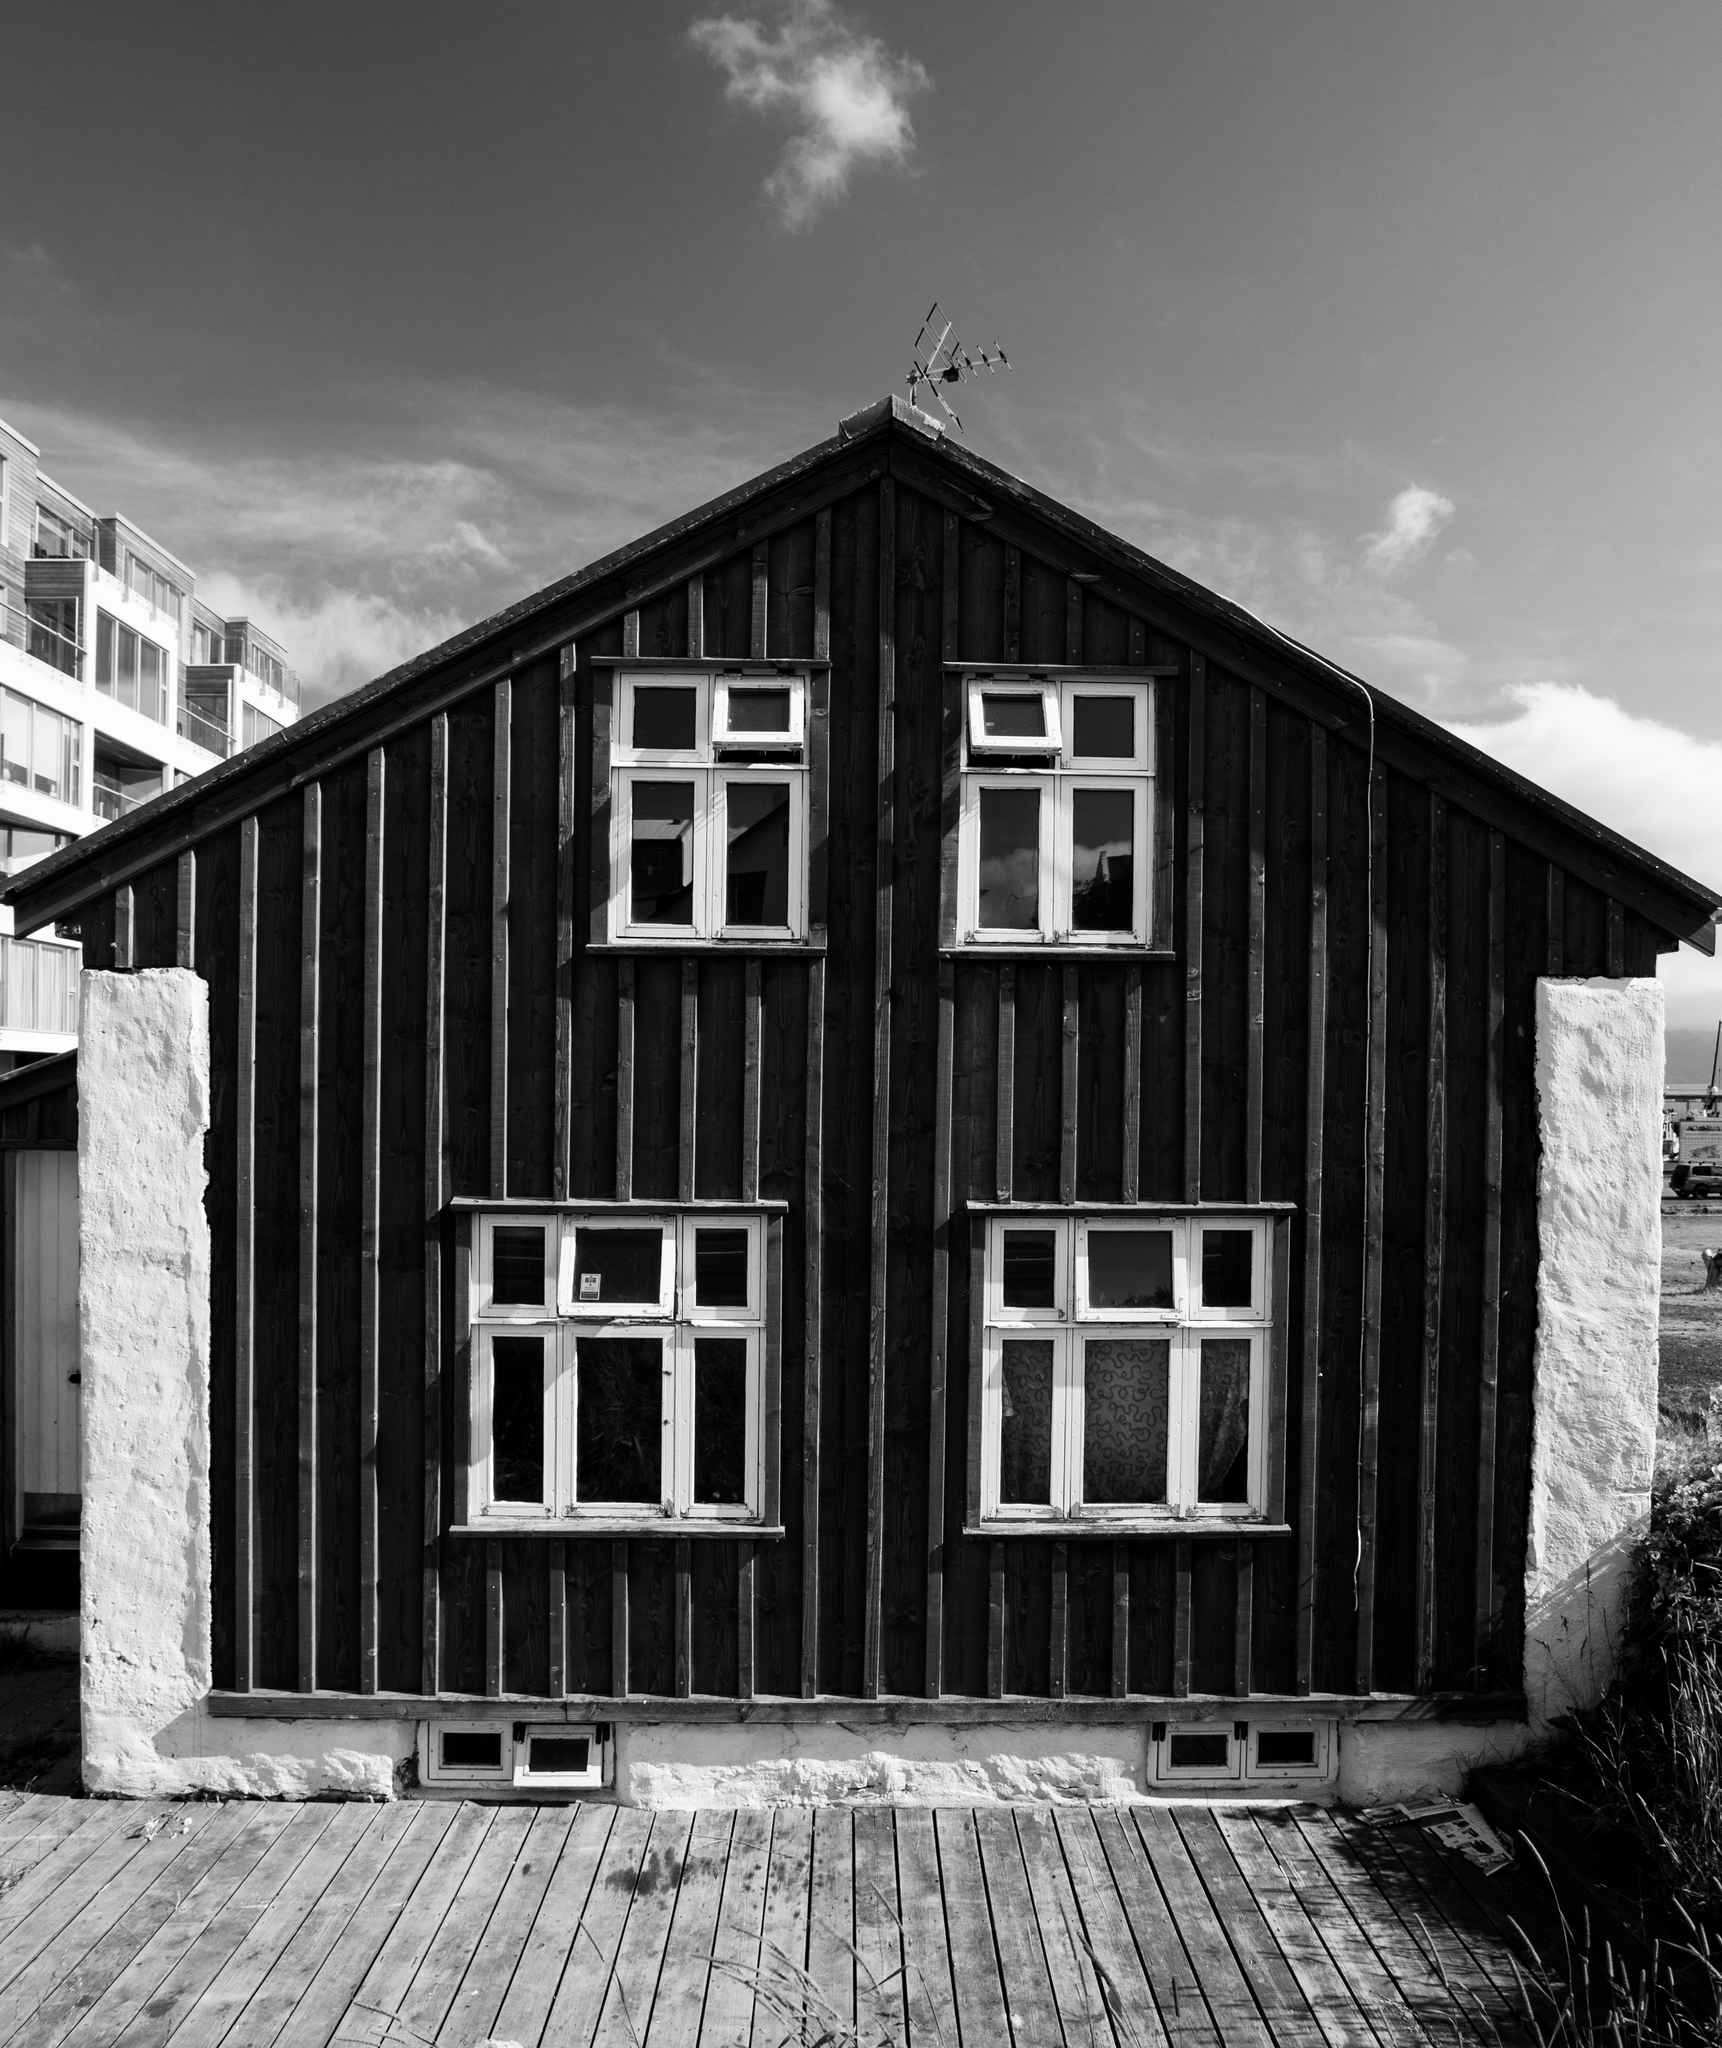
Description for the visually challenged
A wooden house with a steeply pitched roof is shown. The front has four windows, two on the upper level and two on the lower level, with a white wall on the left side. The house is set against a cloudy sky, and a wooden deck is visible in the foreground.
hamborgara bullan – tommi’s burger joint
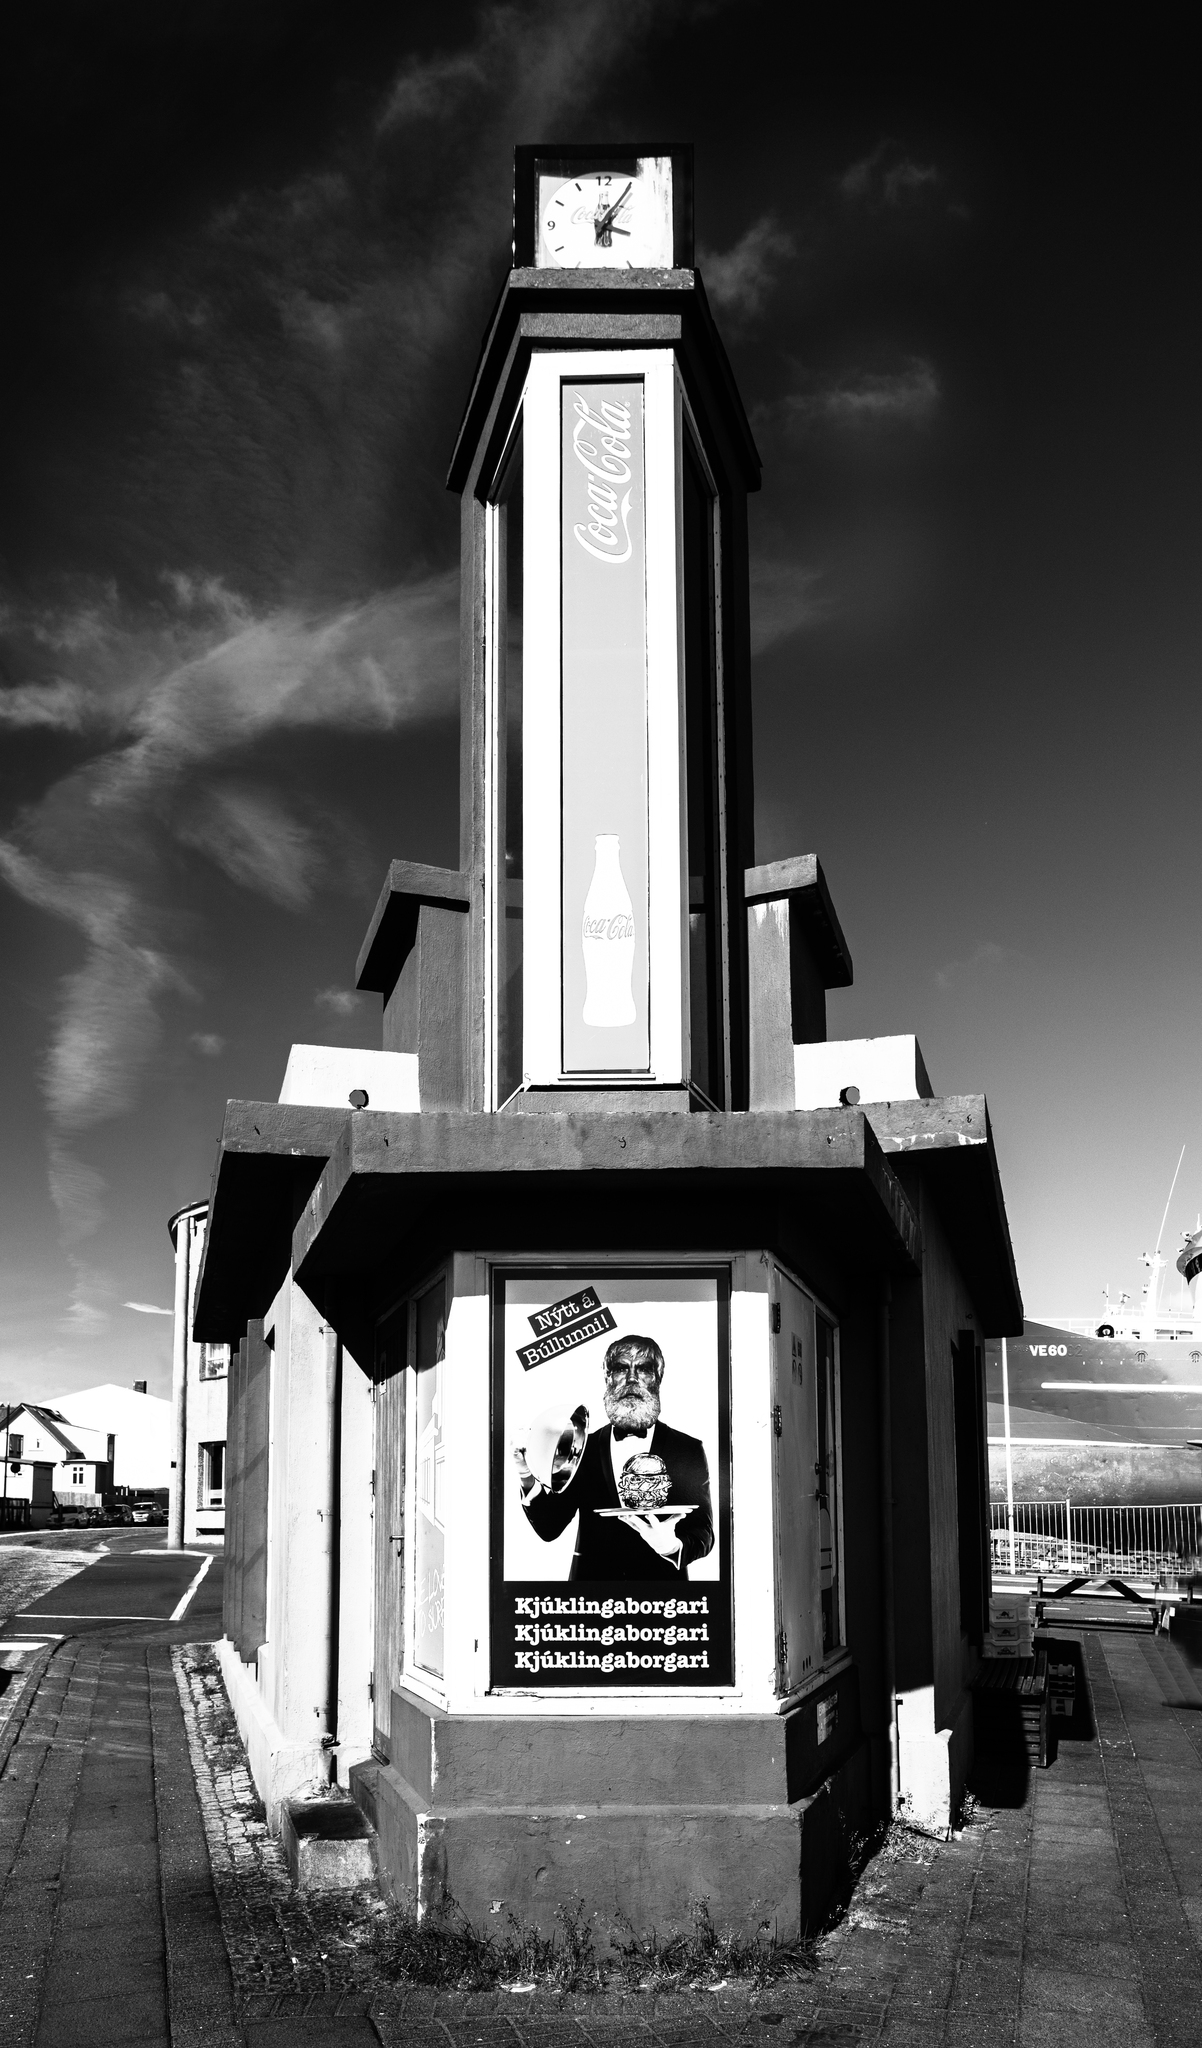
Description for the visually challenged
A tall clock tower is visible, with a Coca-Cola logo on its side. The clock shows a time close to 12:00. Below the clock, there is a poster featuring a man with a beard holding a dish, along with text in a language that includes ‘Nýt & Búhúmali’. The background shows a blue sky with clouds and a ship in the distance.
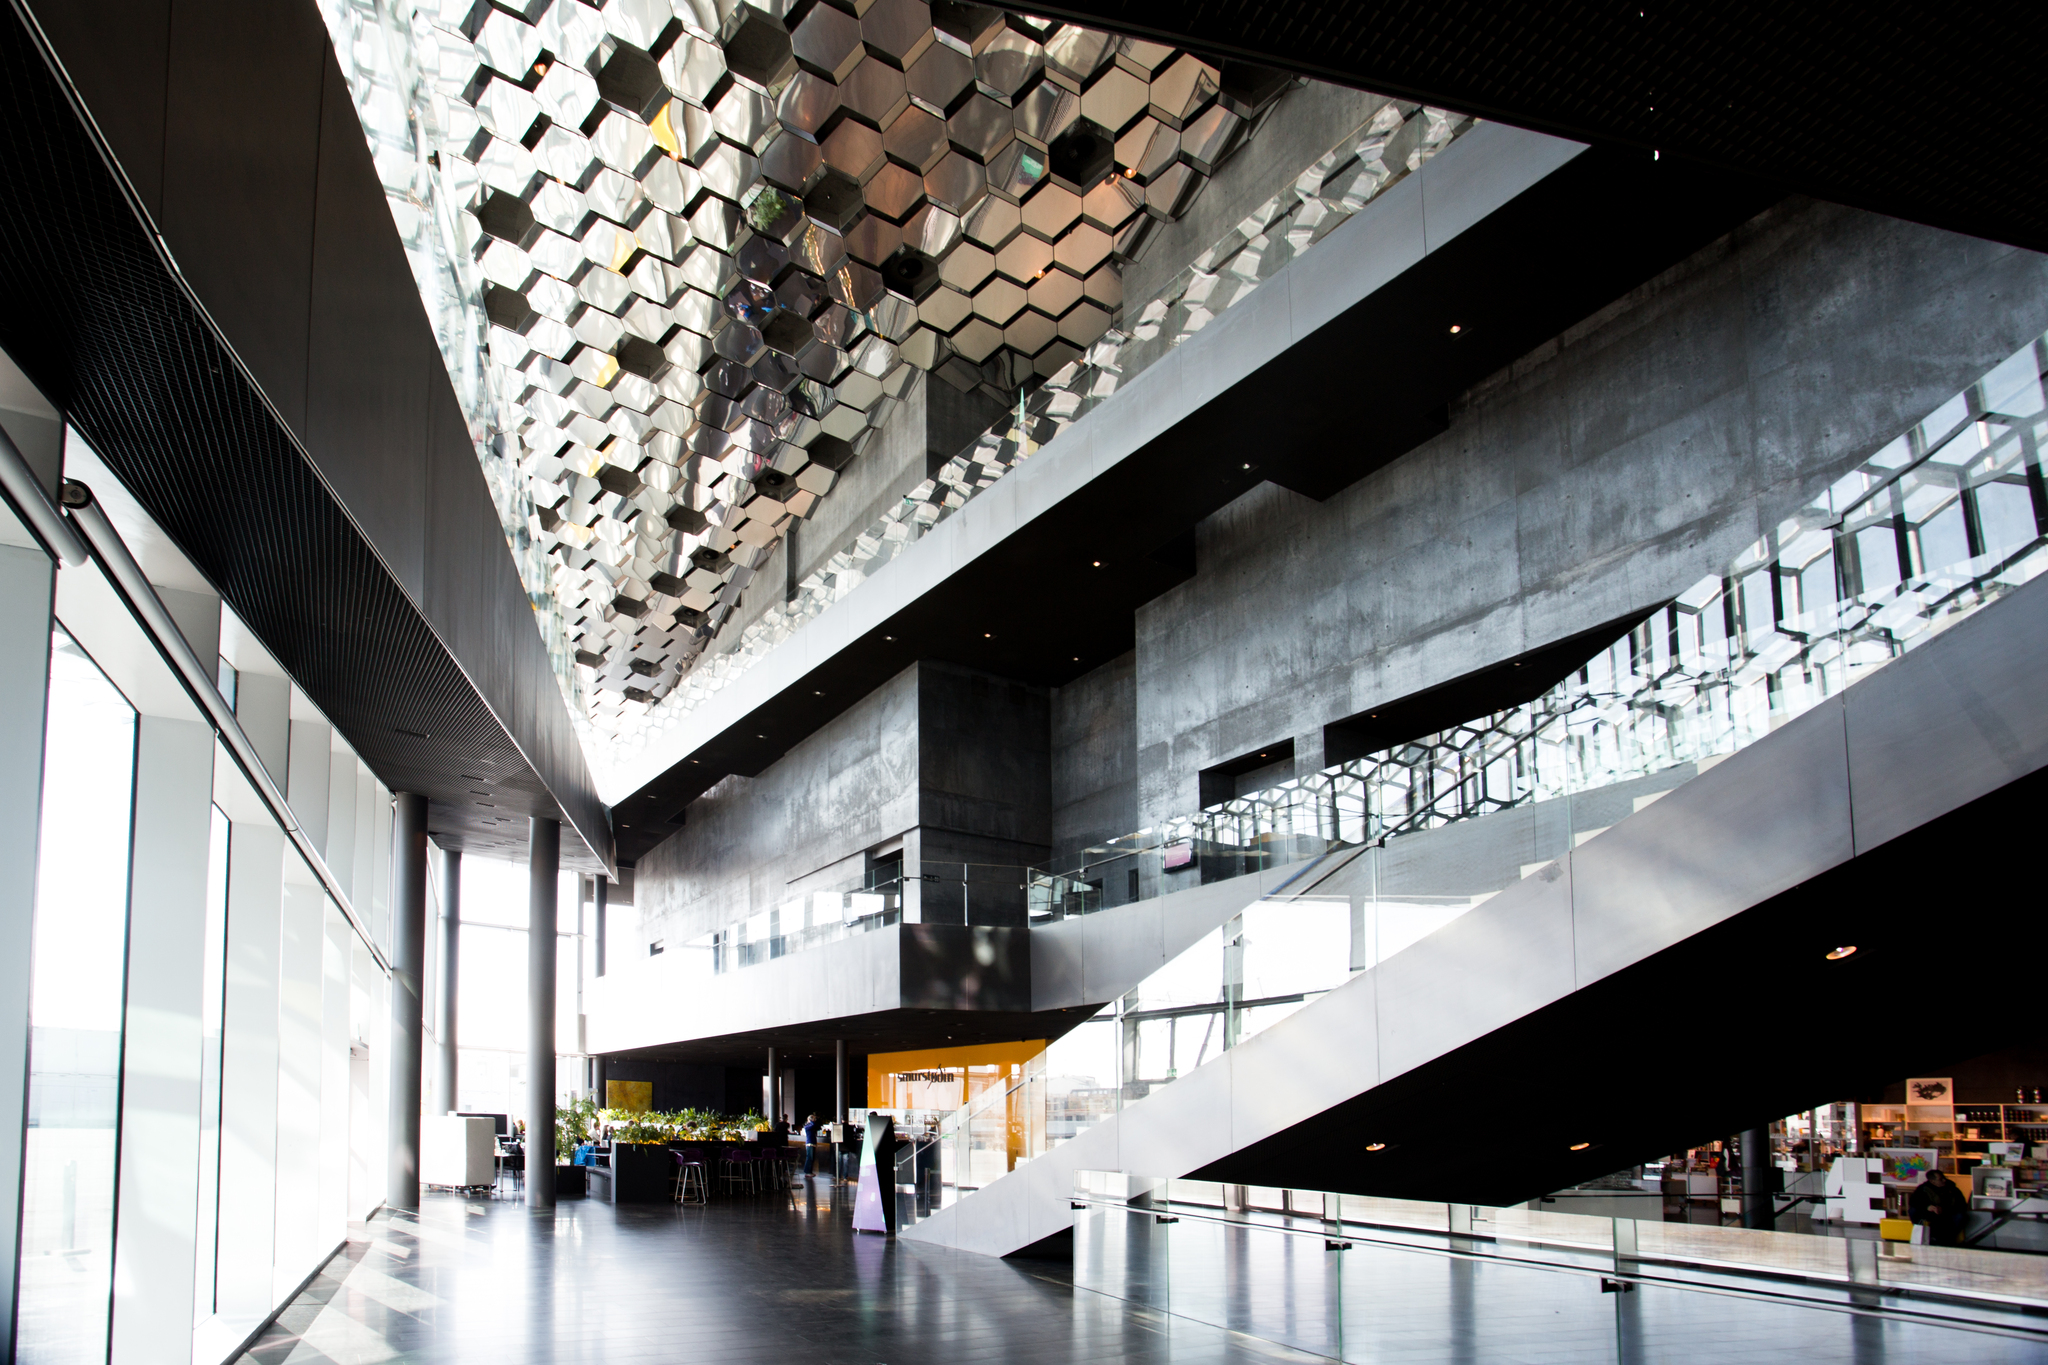
harpa concert hall – interior

Description for the visually challenged
The image shows a modern interior space with a high ceiling and large windows. A staircase with a glass railing leads to an upper level. The ceiling features a reflective, hexagonal pattern, and the walls are made of concrete. In the background, there are tables and chairs, possibly indicating a gathering area.
harpa concert hall – interior
Description for the visually challenged
The image shows a modern interior space with a high ceiling and large windows. The ceiling features a reflective, hexagonal pattern, while the walls are made of concrete. A staircase with glass railings leads to an upper level, and there are tables and chairs visible in the background.
harpa concert hall – interior
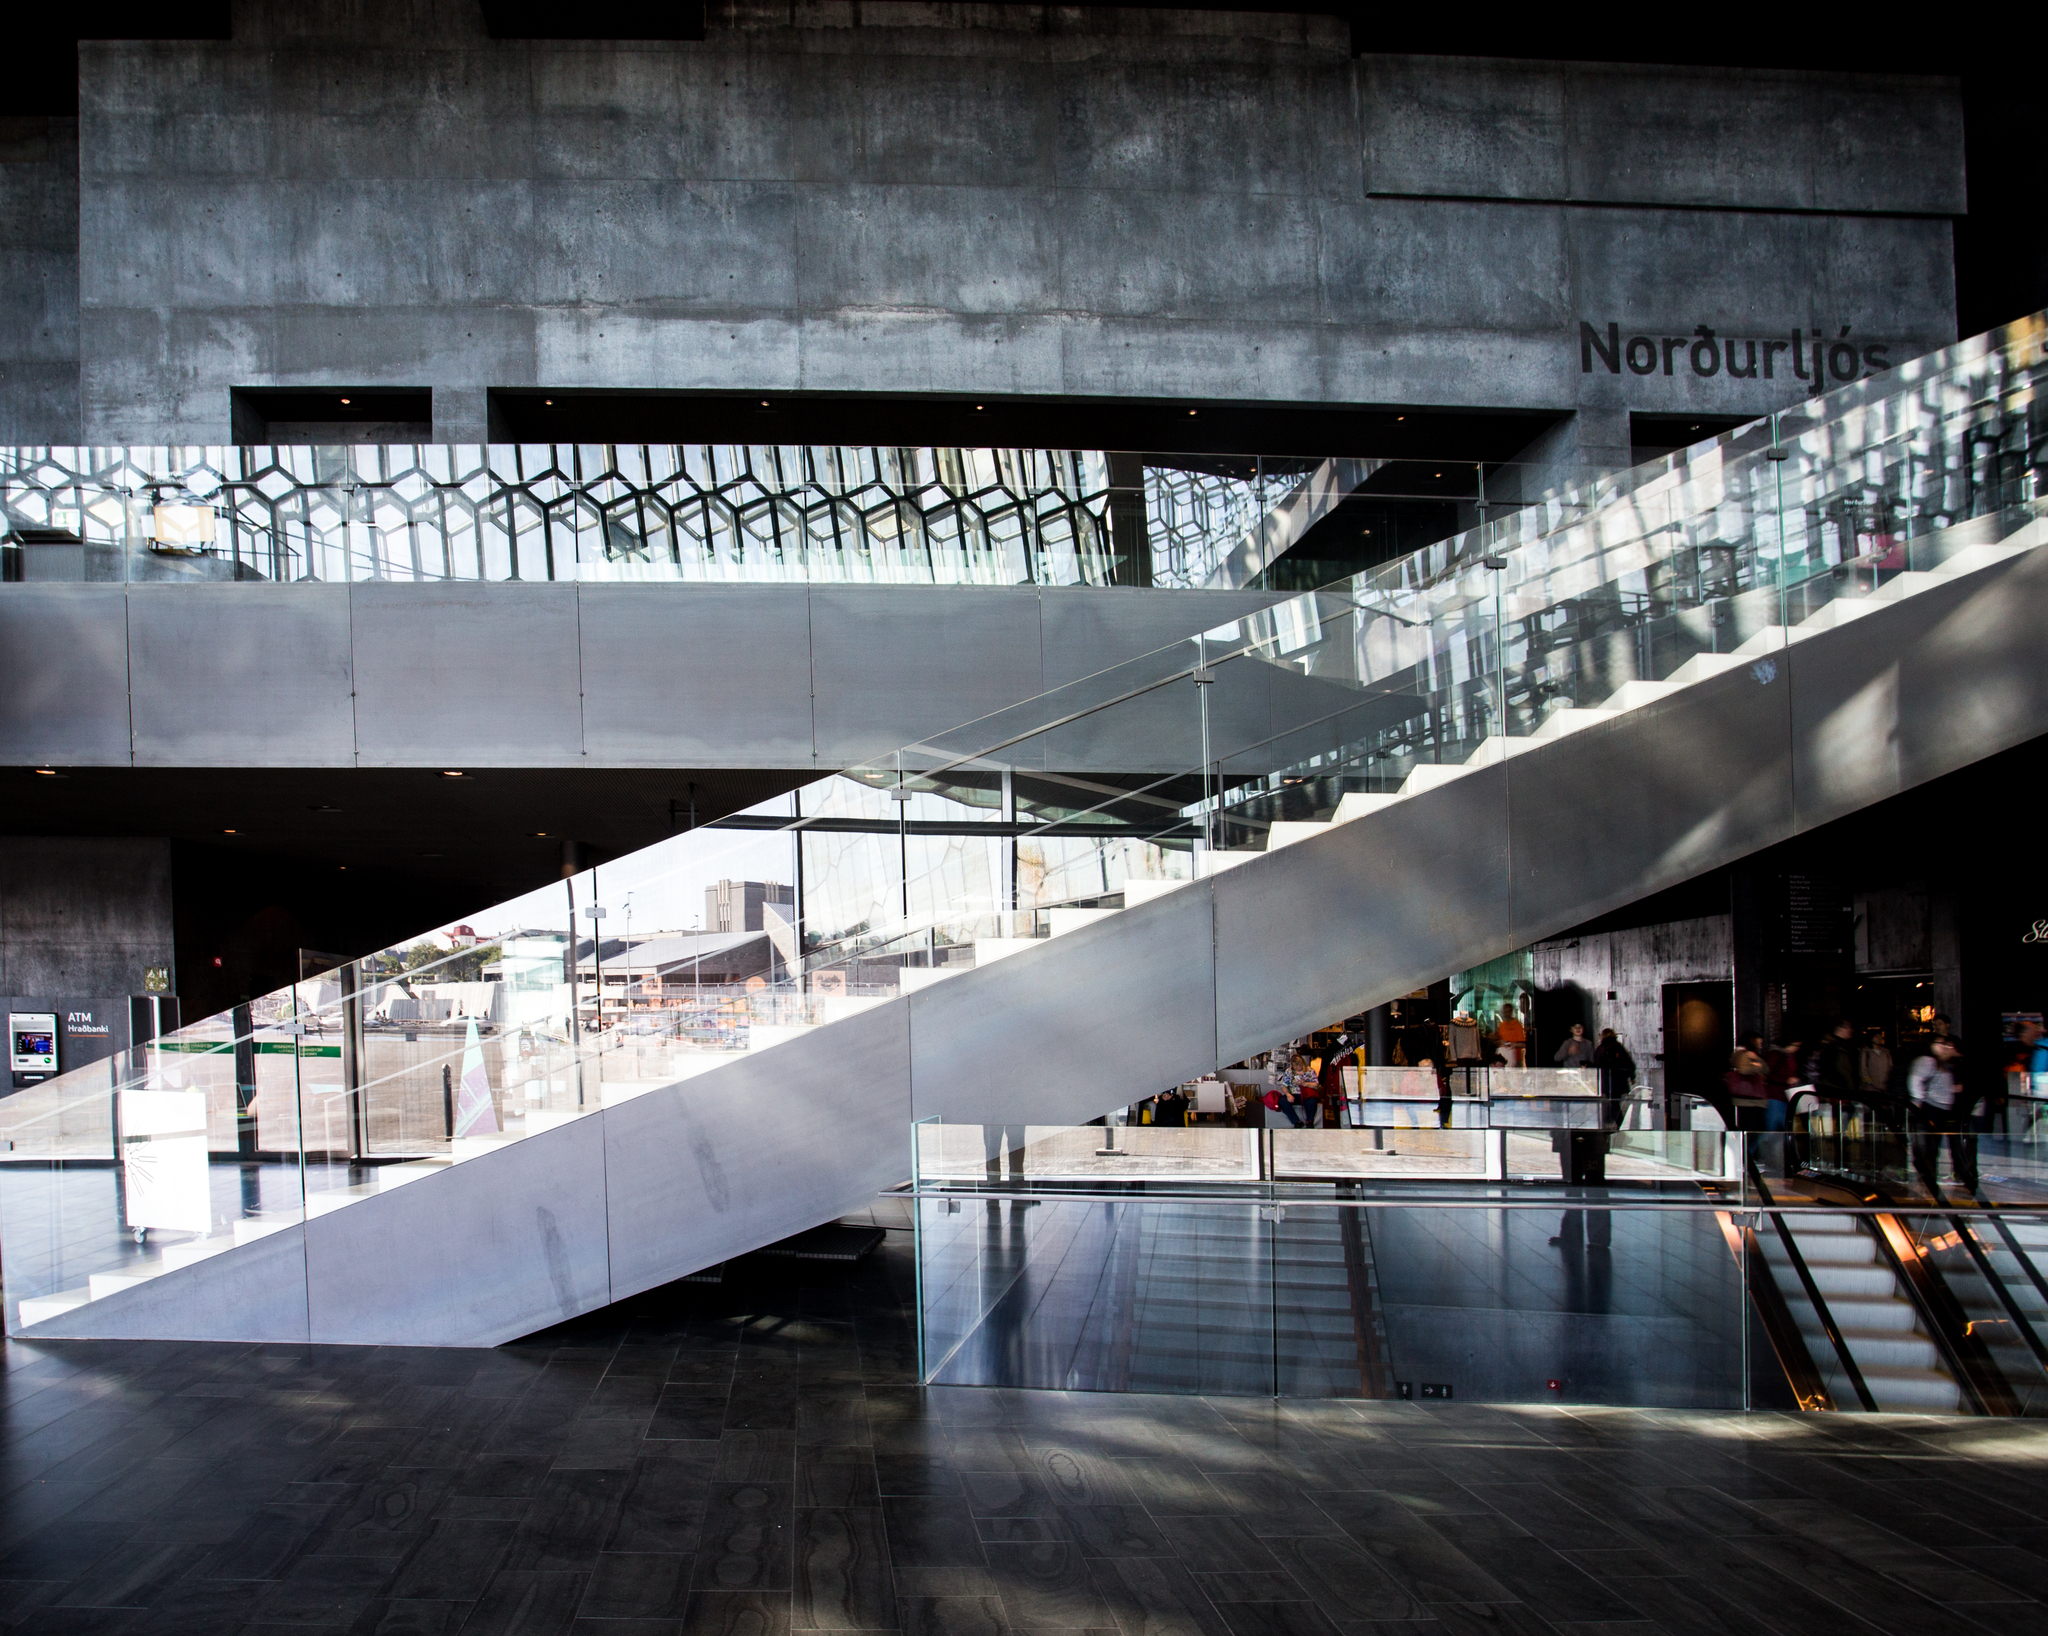
Description for the visually challenged
The image shows a modern interior space with a large, angular staircase made of metal and glass. The walls are gray concrete, and there are reflections of light on the surfaces. In the background, people can be seen, and a sign with the text ‘Norðurljós’ is visible on the wall.
adventkirkjan
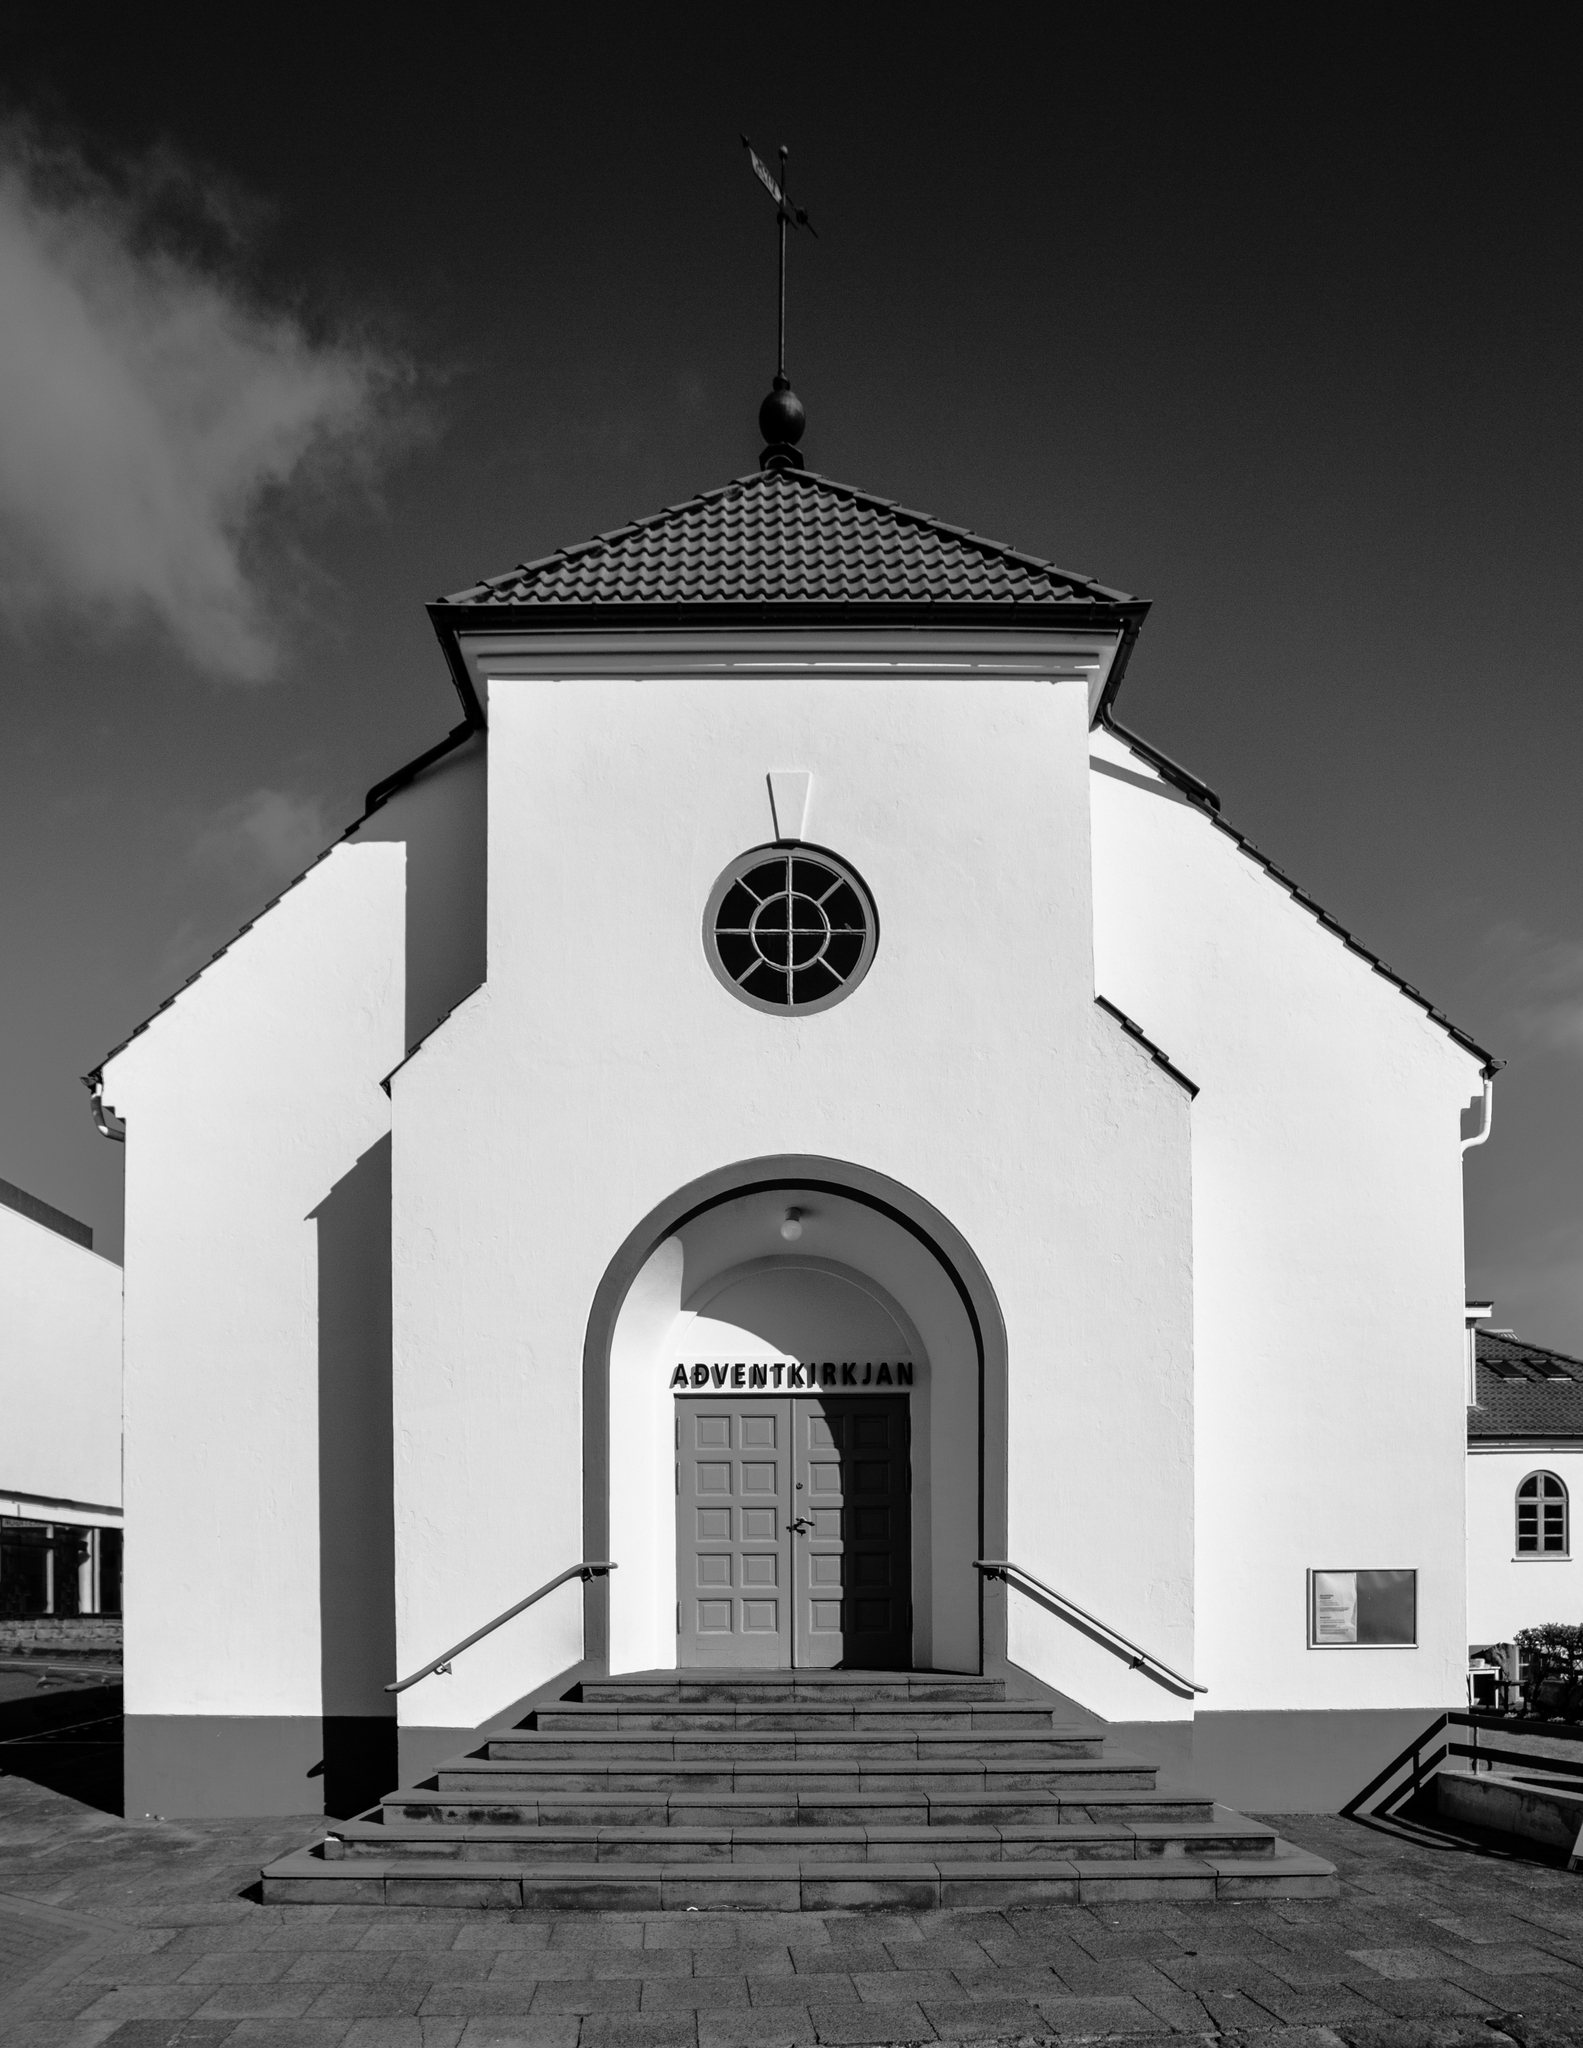
Description for the visually challenged
The image shows a white church building with a sloped roof and a weather vane at the top. The entrance features a large archway with a double door painted in gray. The word ‘ADVENTKIRKJAN’ is displayed above the door, and there are steps leading up to the entrance. The background is mostly clear, with some clouds visible in the sky.
hallgrimskirkja
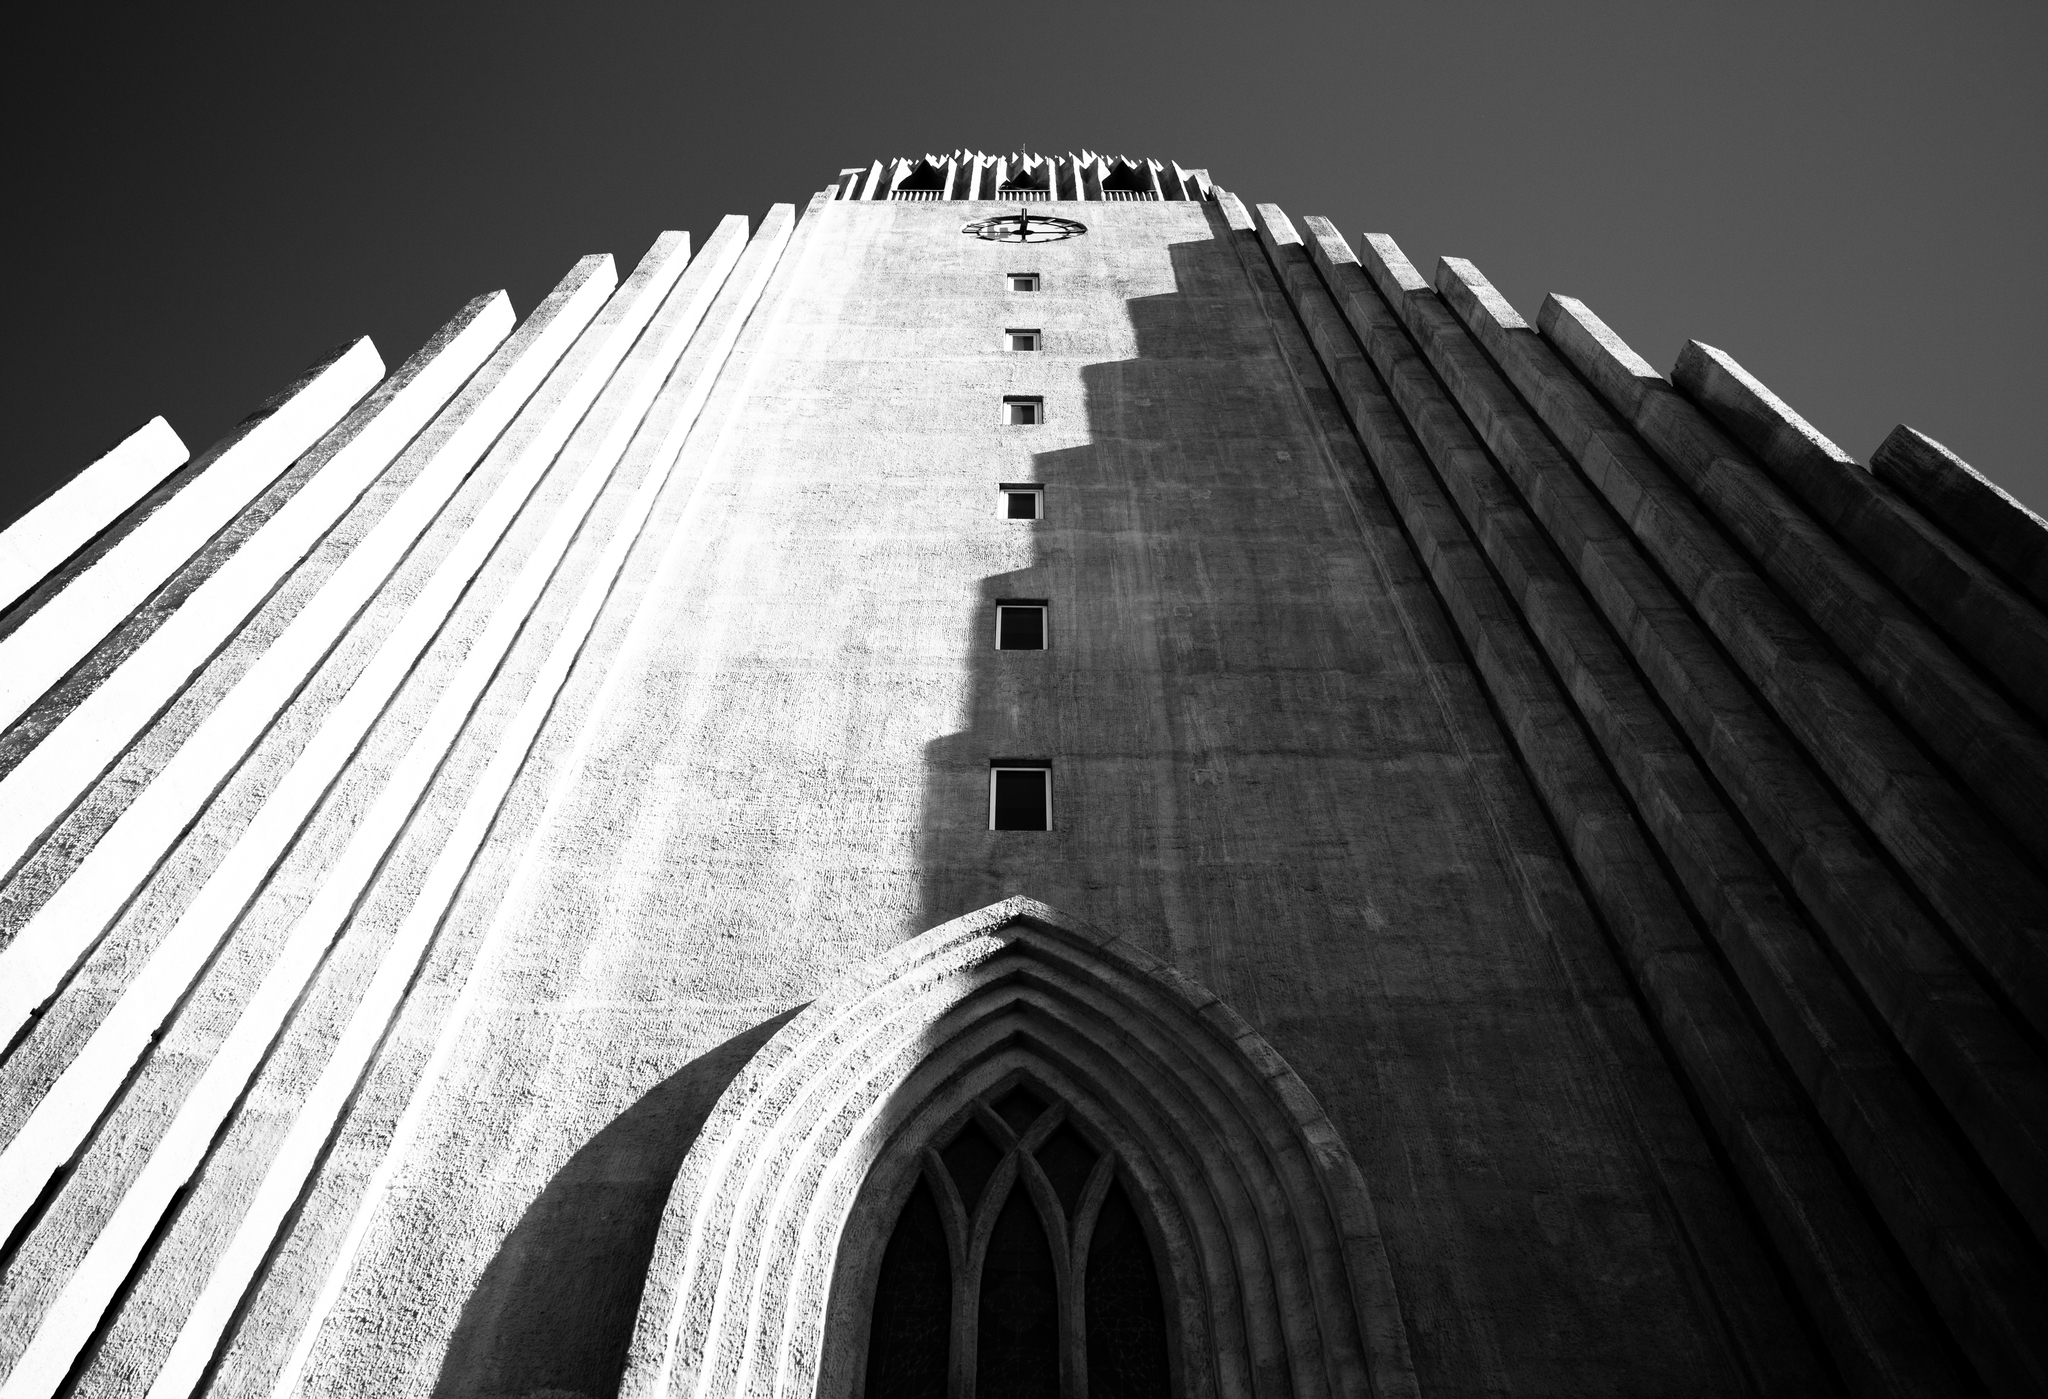
Description for the visually challenged
The image shows a tall, textured building viewed from below, with a series of vertical, protruding elements on one side. The structure has a large archway at the bottom and several small windows along the upper section. The photo is in black and white, emphasizing the contrast between light and shadow.
high contrast house
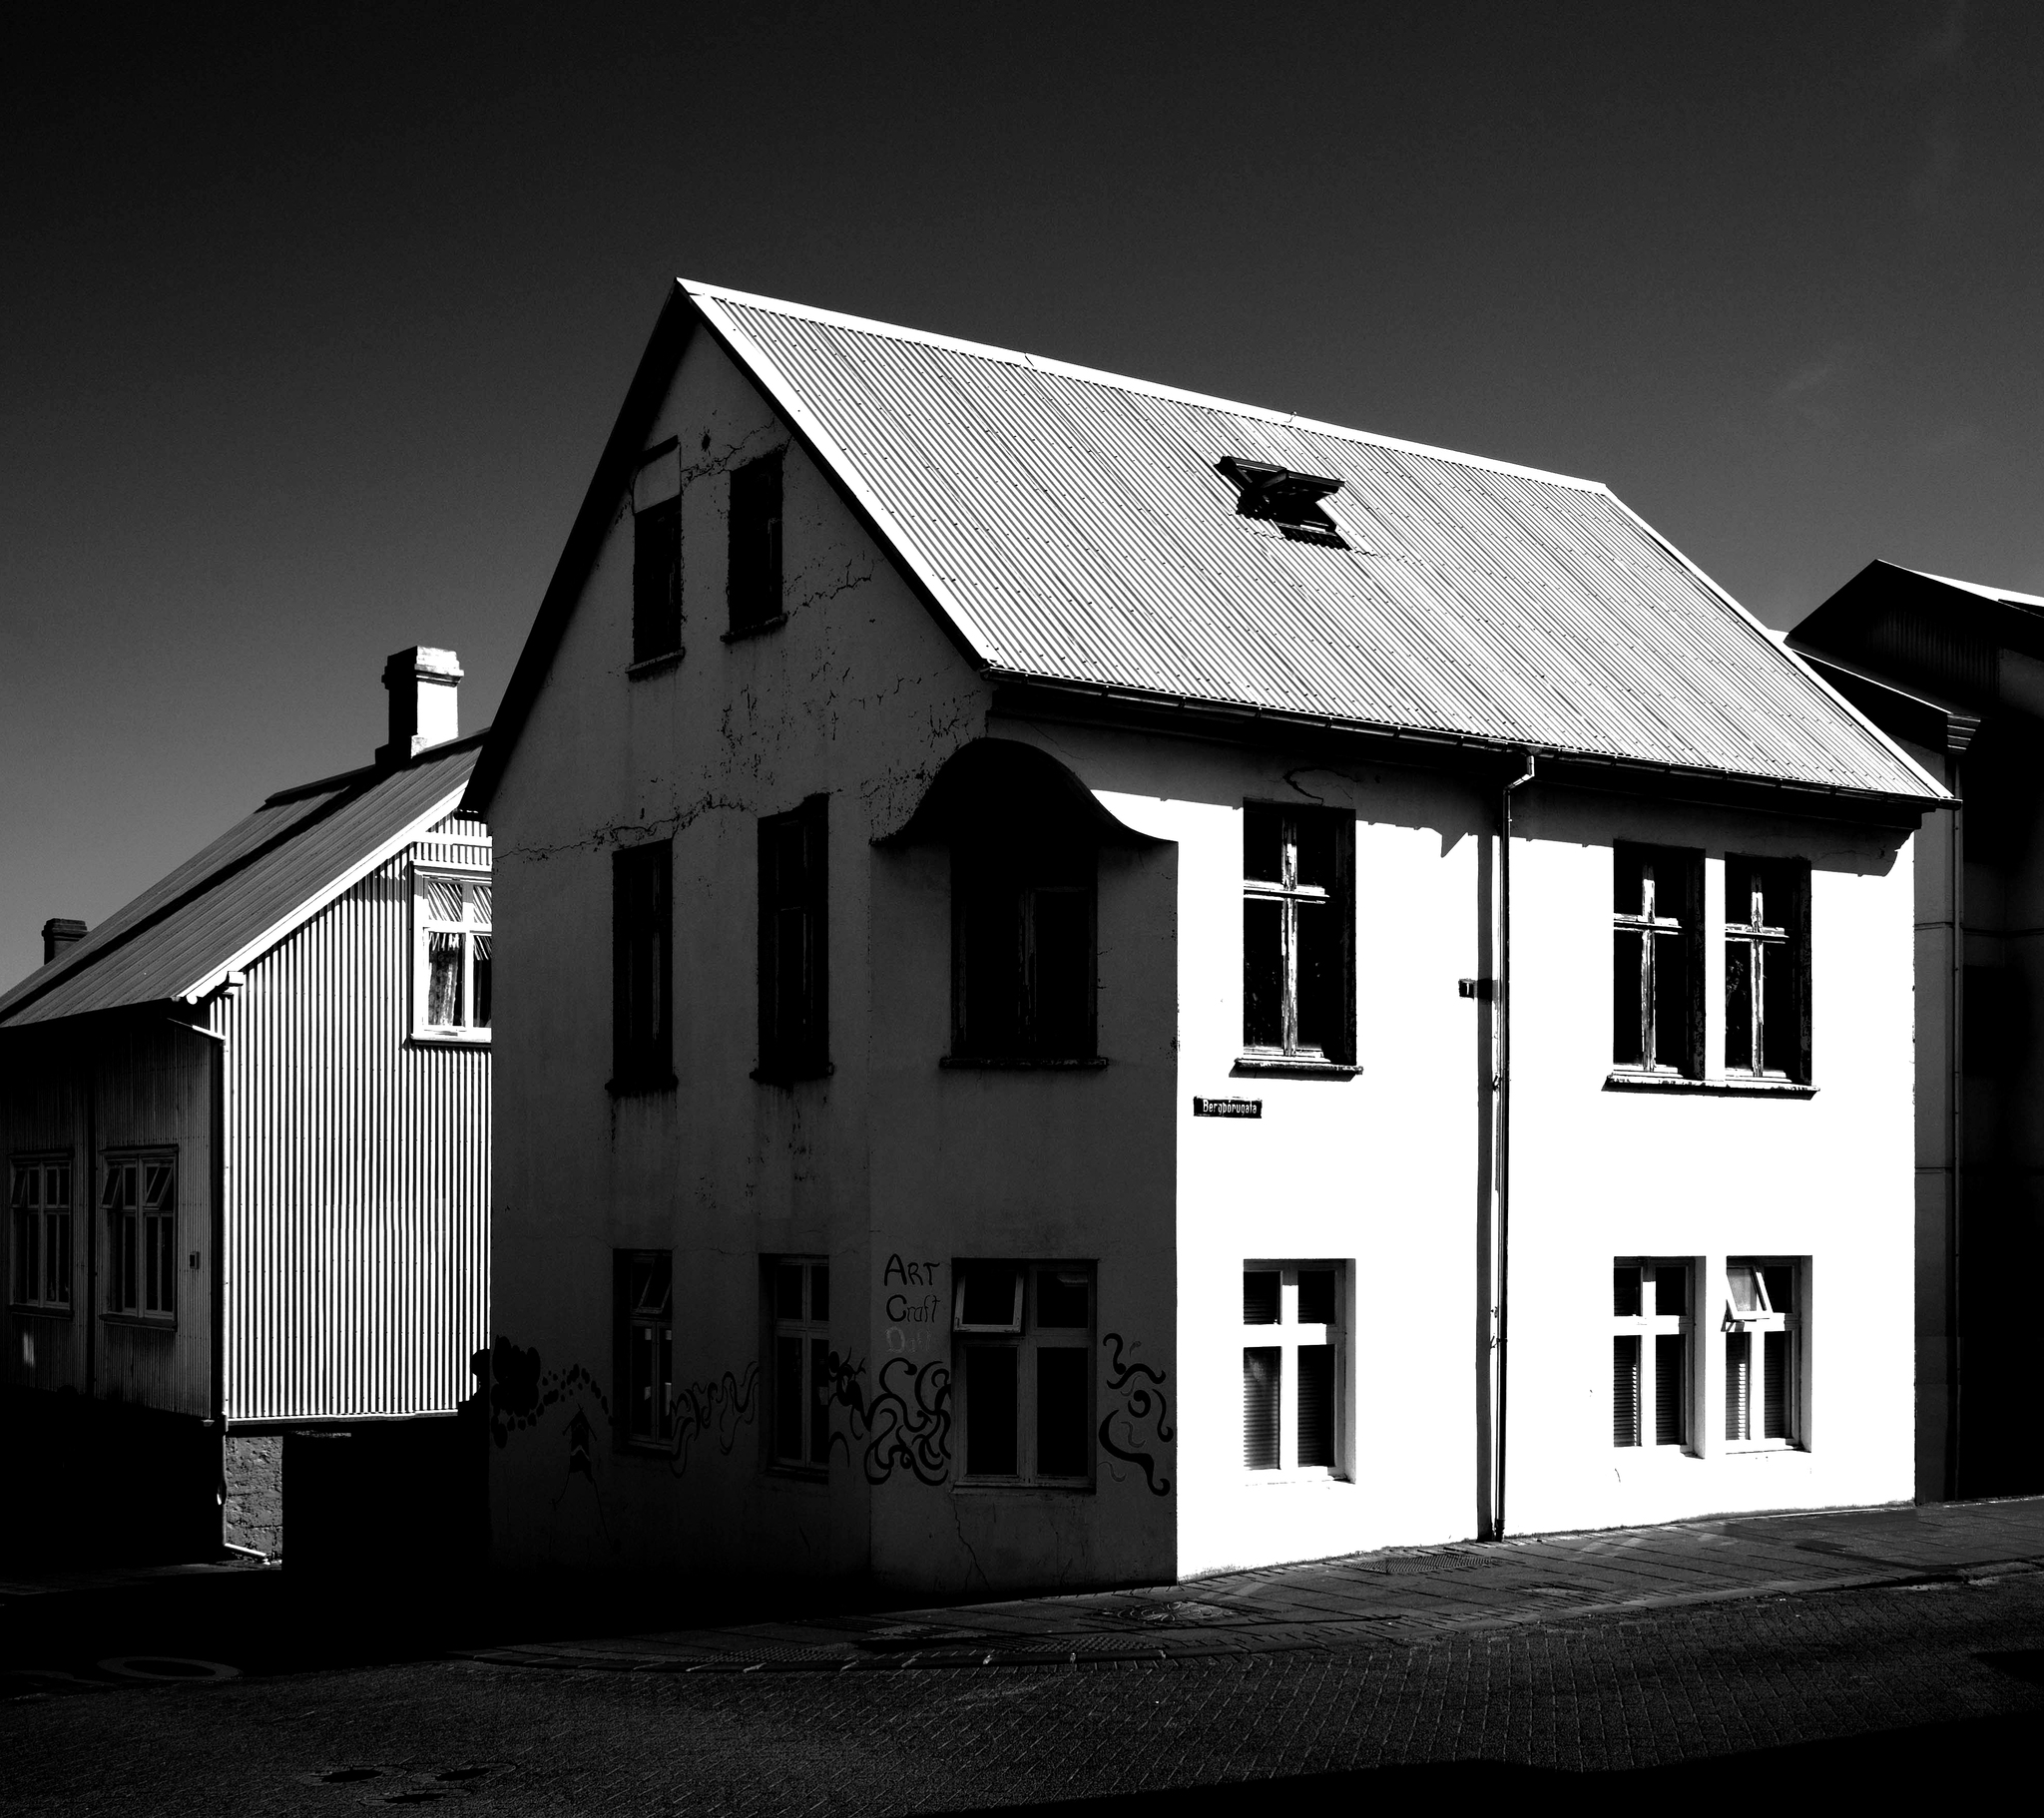
Description for the visually challenged
The image shows two buildings in black and white. The building on the right has a white exterior with multiple windows, some displaying graffiti that reads ‘ART’. The building on the left has a corrugated metal roof and a vertical striped facade. The background is a clear sky.
reykjavík junior college
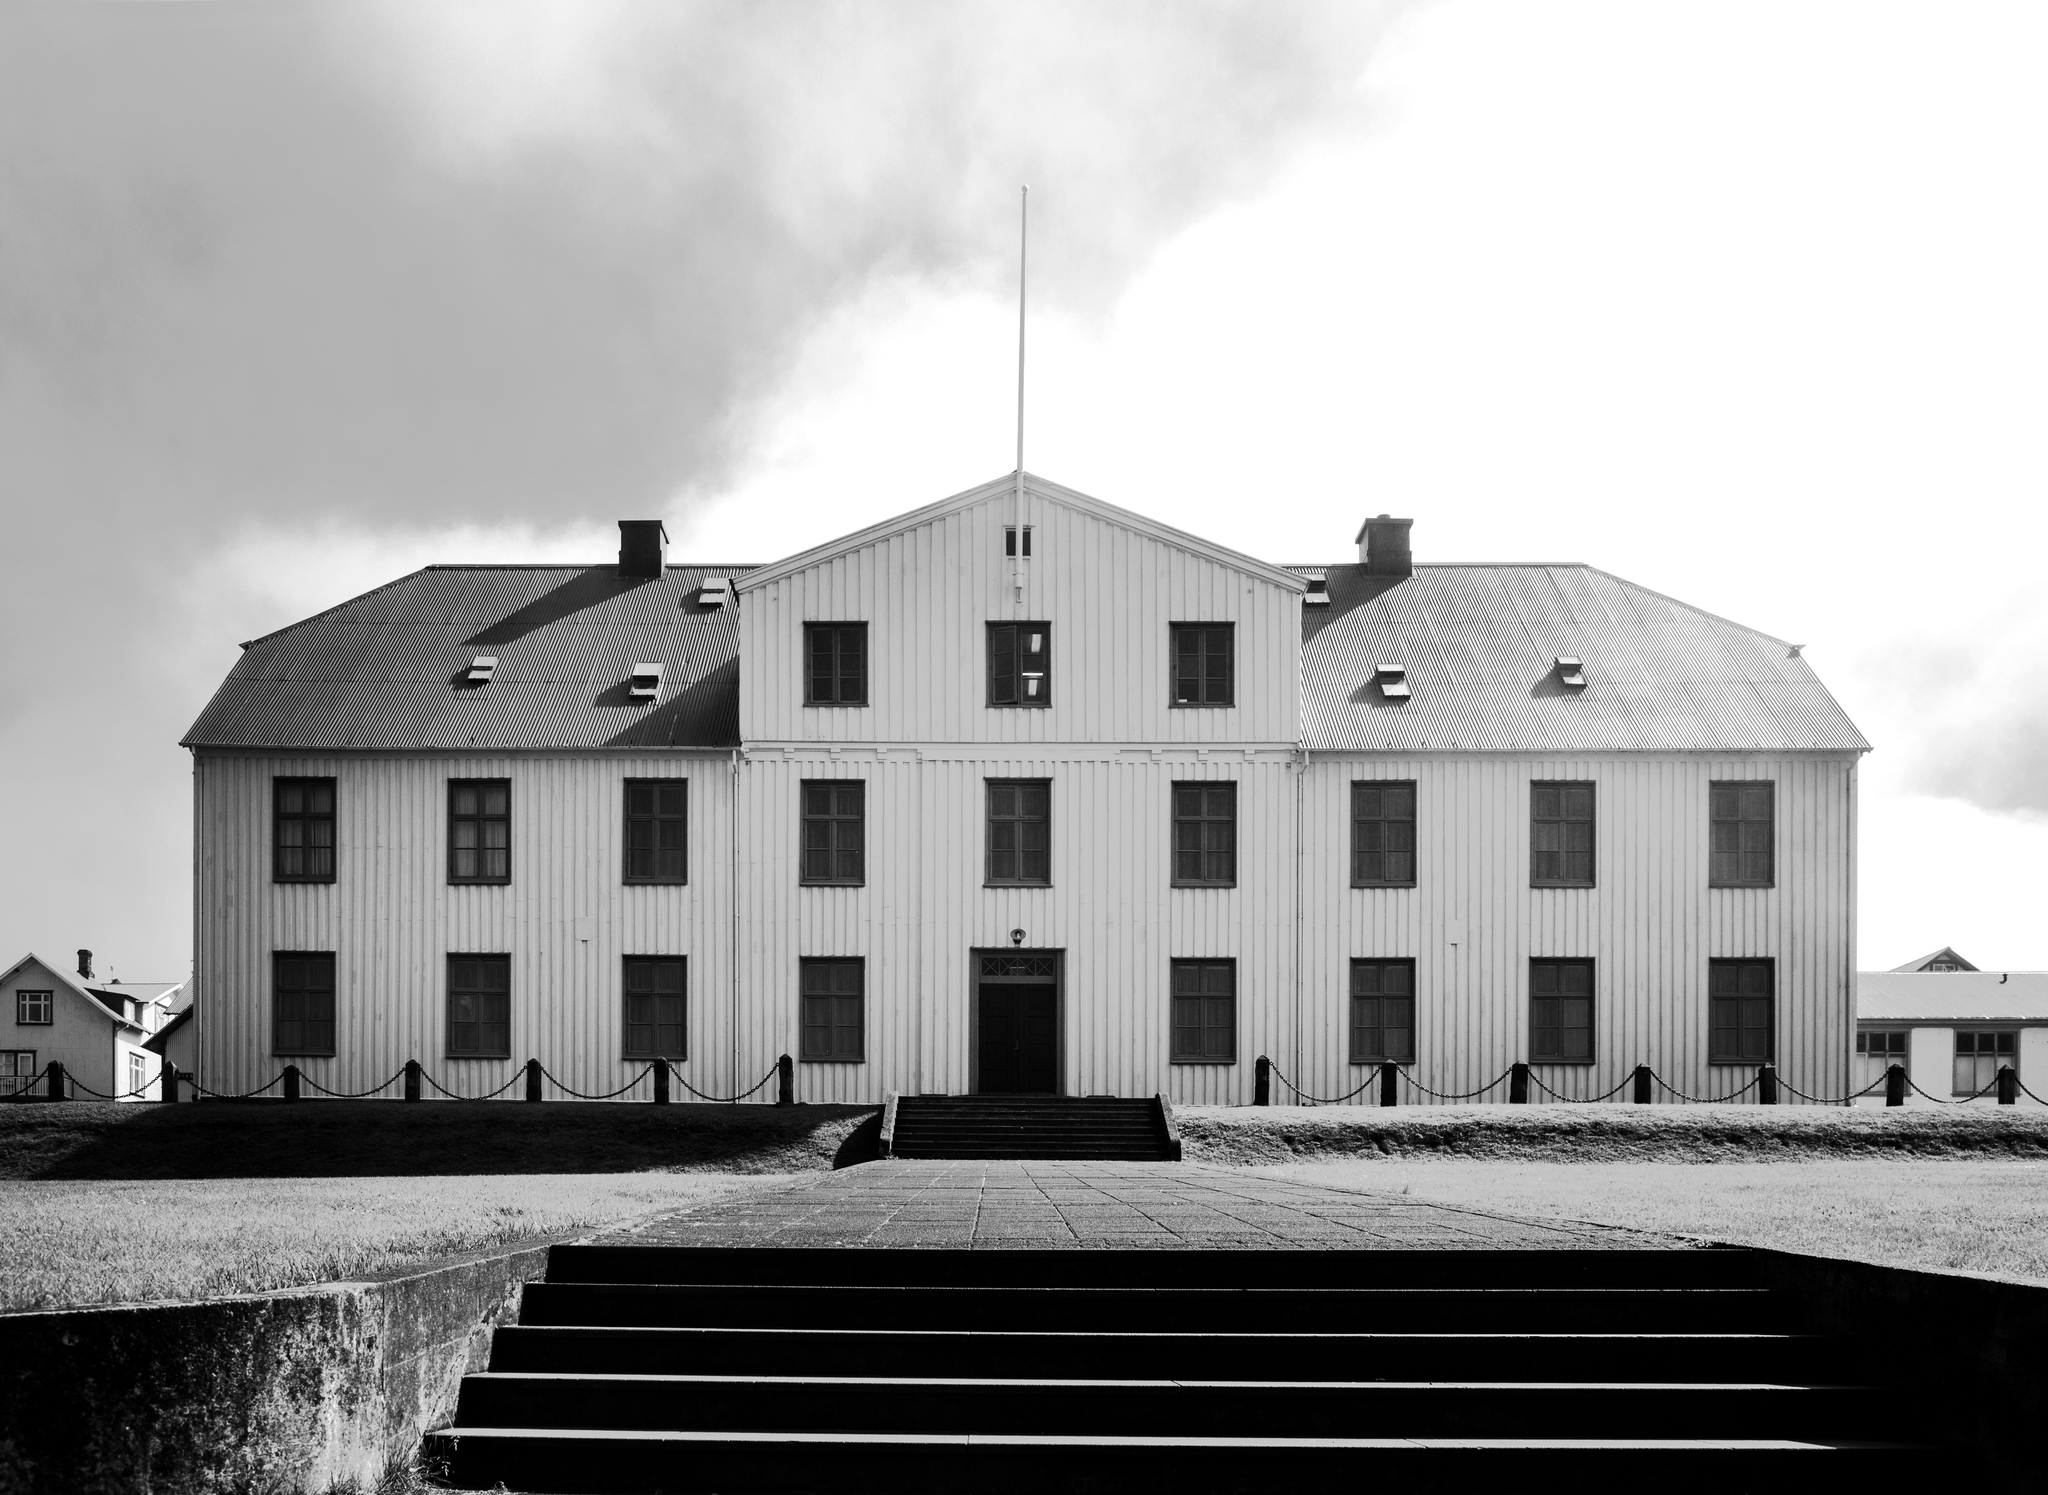
Description for the visually challenged
A large white building with a peaked roof and multiple windows stands prominently. The structure has a central entrance with steps leading up to it. In the foreground, there are stone steps and a grassy area, while a chain fence runs along the front of the building. The sky appears cloudy and bright.
reykjavik city hall
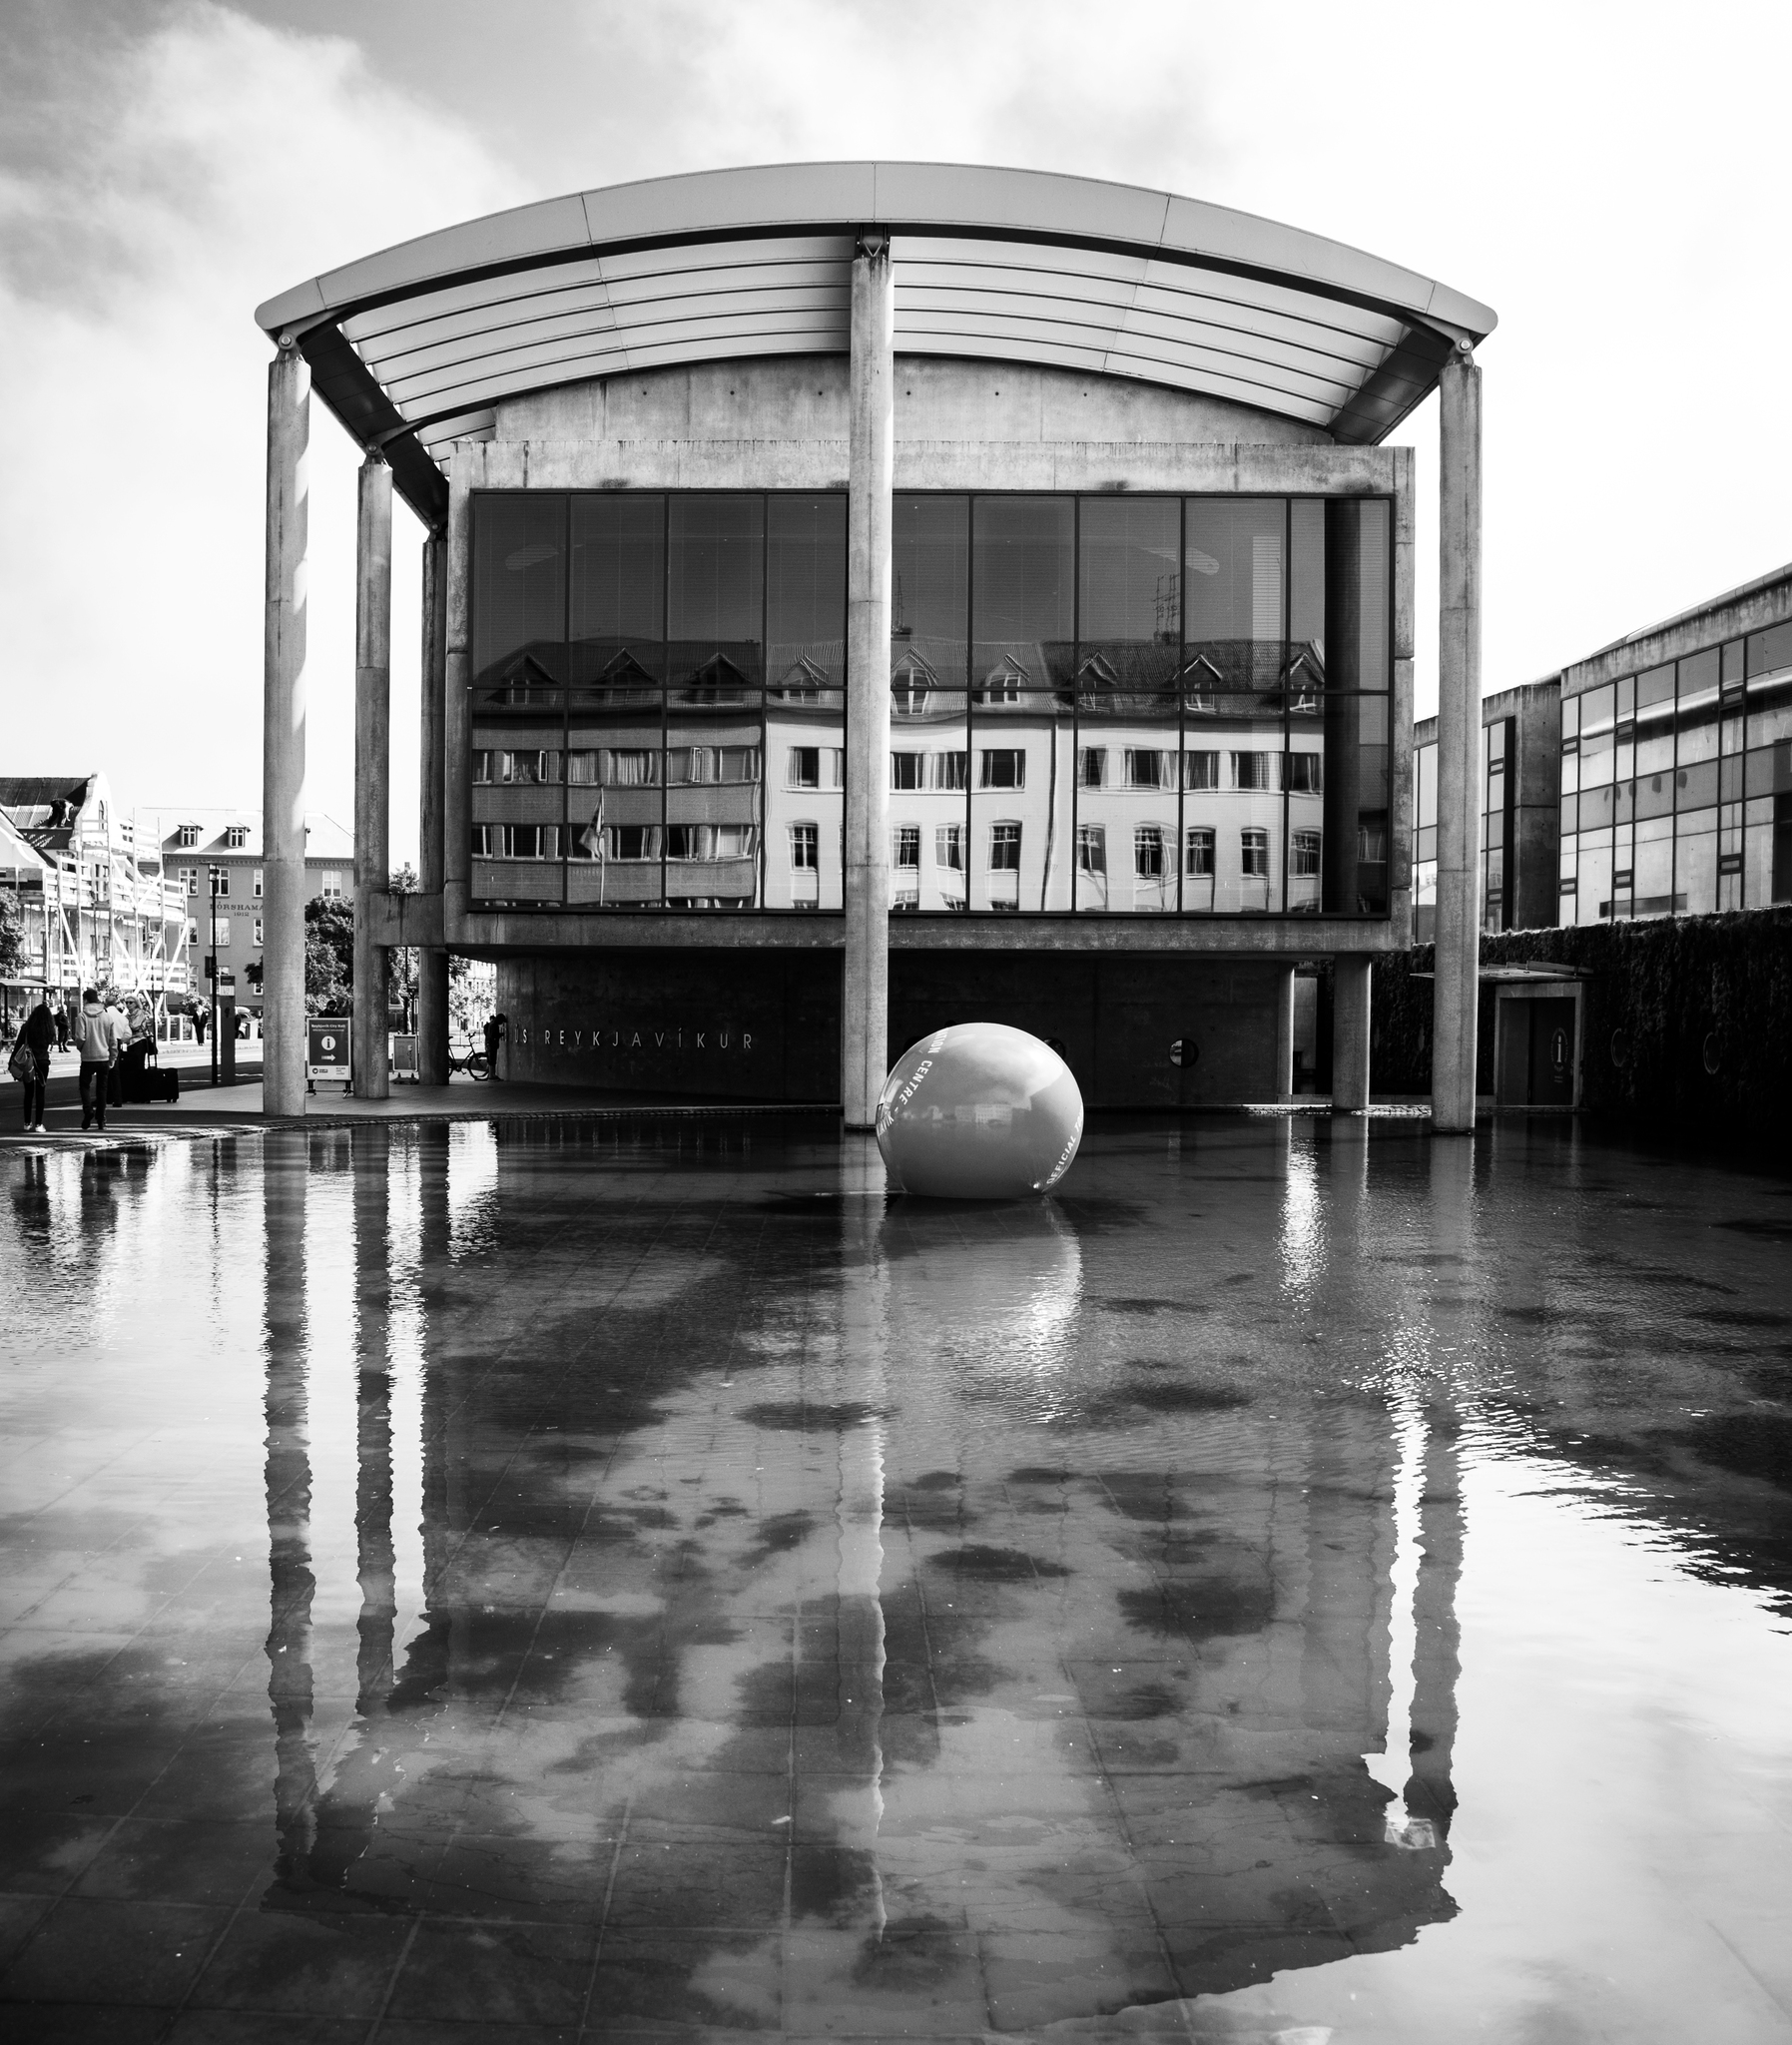
Description for the visually challenged
A modern building with a curved roof and concrete pillars stands near a reflective pool of water. A large, round orange object is positioned in the water, and the building’s glass facade reflects nearby structures. The scene is in black and white, with people walking in the foreground.